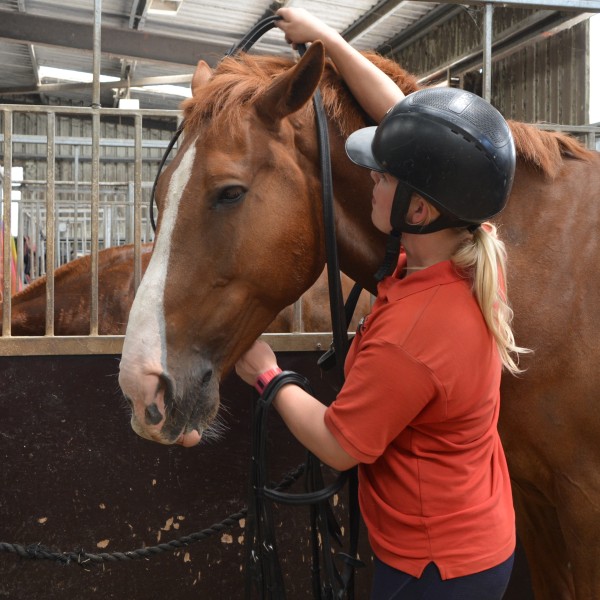
Start by undoing all of the keepers and measure the bridle against the side of the equine’s head for a rough estimation of fit. Alter if required. This allows for quick changes to be made, avoiding any discomfort for the horse.
Undo the quick release knot and place the headcollar around the horse’s neck.
Face forwards in the same direction as the horse. Put both sets of reins over the equine’s head, placing the buckles on the reins near the withers.

When putting on a double bridle it is important to treat it as a single bridle, and the two bits as one.
To do this, before putting the two bits in the equine’s mouth place the bridoon bit on top of the curb bit. This helps you insert them into the horse’s mouth, stopping them from hanging loose and banging on the horse’s teeth.
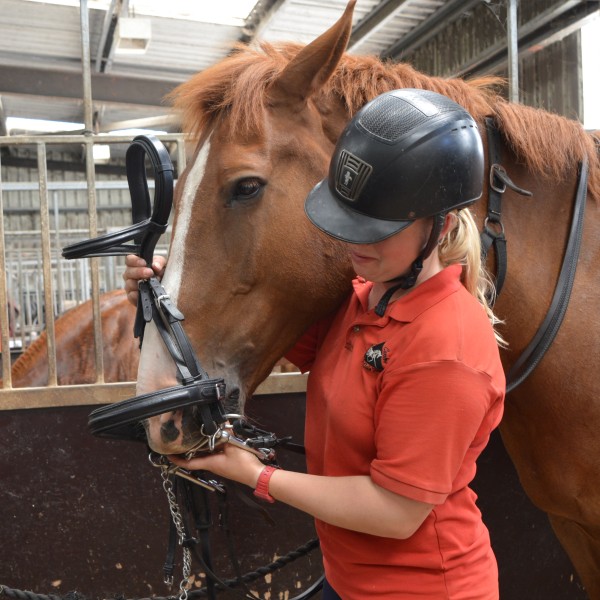
Double check the bridoon is sat on top of the Weymouth and the curb chain is undone.
Holding the bridle in your right hand, with your left hand position both bits against the horse’s mouth. If the horse is reluctant to accept the bits, place your thumb into the side of their mouth to encourage them to open up.
Insert both bits into the equine’s mouth, and then put on the bridle as normal.

Once the bridle is on, reposition the bits so that the bridoon is sat behind the curb bit.

Check the fit of the bits and bridle.
The parts of the bridle are fitted in the same way as a standard snaffle bridle. The top set of reins should be thicker and slightly longer than the bottom set of reins.
Fitting the bridoon bit: this bit is attached to the sliphead. It should be fitted slightly higher than a normal snaffle and be ¼ inch longer than the curb bit mouthpiece. The height can be altered by the sliphead buckle found on the offside of the bridle.
Fitting the curb bit: this bit is attached onto the two standard cheekpieces and is altered in the same way as an ordinary snaffle bit. It should sit comfortably at the corners of the mouth, slightly lower than a snaffle bit, and be fitted with an overlap of a ¼ inch when pulled out of one side of the mouth.
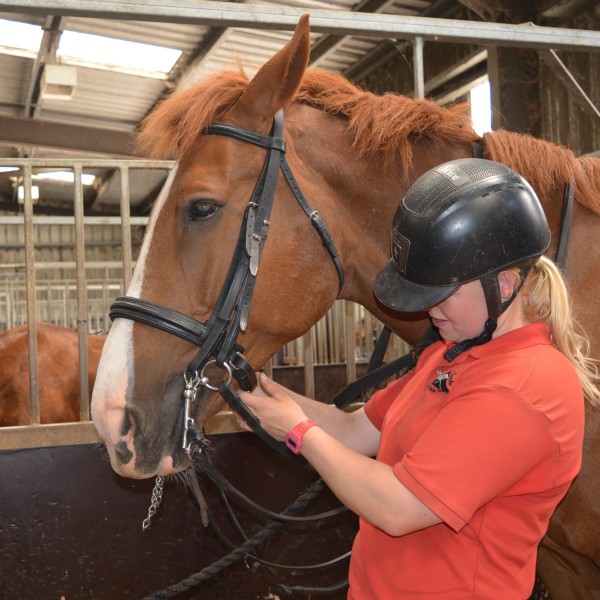
Fasten and fit the throatlash first, then the noseband in the same way as a standard snaffle bridle.
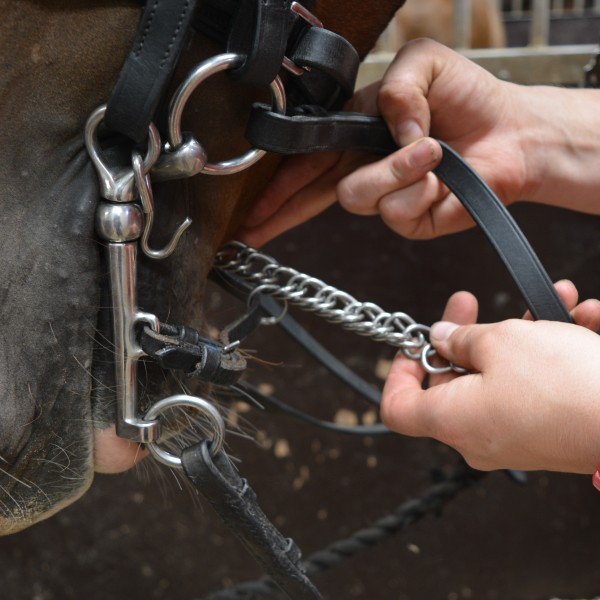
Fasten and fit the curb chain.
Firstly start by untwisting the curb chain to ensure it will lie flat against the jaw.

Attach one of the last few links, on the curb chain, onto the hook (the tension of the curb chain will dictate which link is attached).
The curb chain should sit in the chin groove, free from twists.
If the lipstrap is not fastened at this point, thread it through the flylink on the curb chain and attach it to the buckle.

Check the tension of the curb chain.
To check the tension of the curb chain take hold of the bottom reins and gently pull back against them. The curb chain should come into action when the shanks are rotated at an angle of 45°.
It is essential that the curb chain is fitted at the correct length as it controls the severity of the curb bit.
If it is fitted too loosely the curb bit would be able to rotate too much in the equine’s mouth, this will cause mass pressure on the tongue. Likewise, if the curb chain is fitted too tight the action will be too severe putting great pressure on the poll and lower jaw.


Tuck in all the loose keepers, and double check the bridle is fitted correctly on the horse.